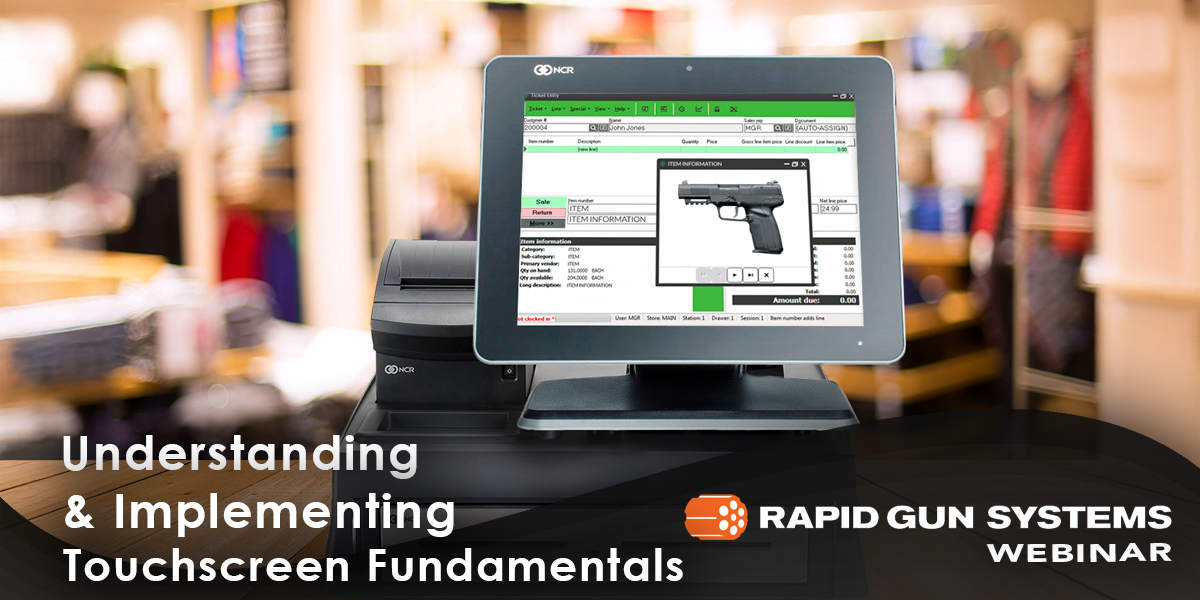
Understanding and Implementing Touchscreen Fundamentals
Why Touchscreen Customization is Essential for Gun Store POS Systems
Customizing the touchscreen fundamentals in your gun store POS goes beyond mere aesthetics; it’s about creating an intuitive, efficient workflow that enhances the customer experience and boosts employee productivity. Key benefits of customization include:
- Streamlined Checkout Efficiency
By arranging your touchscreen layout to prioritize frequently used functions, you reduce transaction times. This strategic setup is a core aspect of touchscreen fundamentals in your gun store POS, enabling staff to serve customers more swiftly and effectively. - Optimized Button Placement
Proper button placement minimizes the steps required for common tasks like customer lookups or applying discounts. This attention to detail in your touchscreen reduces errors and speeds up the checkout process. - Consistent Workflows Across Staff
Customizing your POS touchscreen ensures that all employees follow the same transaction steps, providing a uniform customer experience. This consistency, a vital part of touchscreen fundamentals in your gun store POS, reduces training time for new hires and maintains a professional image. - Enhanced Security Measures
Implementing security features like manager firewalls within your gun store POS restricts access to sensitive functions. This safeguards your business against unauthorized actions and potential fraud. We are also PCI compliant and our credit card gateway uses peer-to-peer encryption (P2PE), tokenization, and it is EMV (chip card) capable, which ensures maximum protection of your customer’s credit card data - Seasonal and Promotional Layouts
Custom layouts for different seasons or sales events allow you to highlight relevant products on the main touchscreen, making it easier for staff to locate and promote these items. This adaptability is a significant advantage of mastering touchscreen fundamentals in your gun store POS.
Mastering the Touchscreen Button Editor
The touchscreen button editor is the heart of customization, allowing you to fully harness the potential of touchscreen fundamentals in your gun store POS. Here’s how to optimize this tool:
- Accessing the Button Editor: Navigate to the POS system’s setup section, under “point of sale” and “touchscreen codes.” This area is the control center for all your customization efforts.
- Creating and Saving Layouts: Save original layouts as backups to prevent data loss. This best practice is integral to maintaining the integrity of your gun store POS.
Customizing Touchscreen Layouts
Effective layout customization is a cornerstone of your gun store POS:
- Layout Tab: This tab is where you manage overall layout configurations, positioning panels and buttons to create a user-friendly interface.
- General Tab: Adjust global settings like button size and text position. Avoid altering font settings to ensure visual consistency.
Detailed Button Customization for Enhanced Usability
Every button on your touchscreen can be customized to improve functionality and ease of use, a vital aspect of touchscreen fundamentals in your gun store POS:
- Button Actions: Configure buttons to add specific items to a ticket, simplifying the checkout process for commonly sold items.
- Navigation Efficiency: Organize your touchscreen into multiple pages to keep the interface clean and navigable.
Practical Applications and FAQs
Applying the principles of touchscreen fundamentals in your gun store POS can transform your operations:
- Department-Specific Layouts: Tailor layouts for different store sections to streamline transactions.
- Event-Specific Layouts: Design layouts for peak shopping seasons or promotional events to boost sales efficiency.
FAQs:
Mastering touchscreen fundamentals in your gun store POS is essential for optimizing your retail operations. By leveraging these customization options, you can create a POS system that meets your unique business needs, enhances customer service, and supports your staff in delivering exceptional service.


